Skip Navigation

How to Create an Announcement for a School Home Page

How to create an announcement as a page with text, images, video, etc.

Before You Begin

What type of announcement page do you have or want to set up?

We have two different types of announcement pages for schools, a School General Detail Page with a Child Page List Block or Rich Text Block or an Announcement Directory Page. In order to see what type of page you have click on your main Announcements or News page. If you are in the All Properties View, you can see the page type in the top information area of the page.
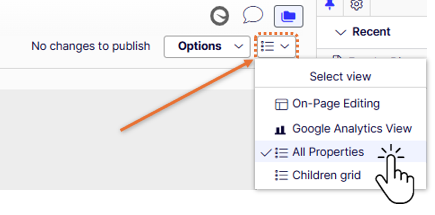
All properties view in View Options menu

School General Detail Page Type

If it is a School General Detail Page you can follow the directions below for creating a new announcement.
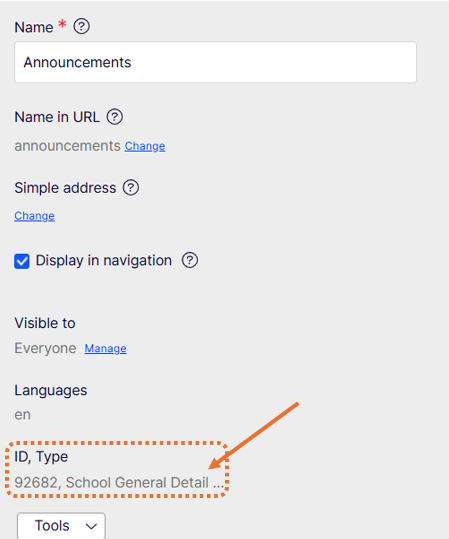
school-general-detail-page-type-all-properties-view

Announcement Directory Page Type

If you have an Announcement Directory Page or would like to set one up visit our informational page about the Announcement Directory. To add a new announcement you would create an Announcement Detail Page.
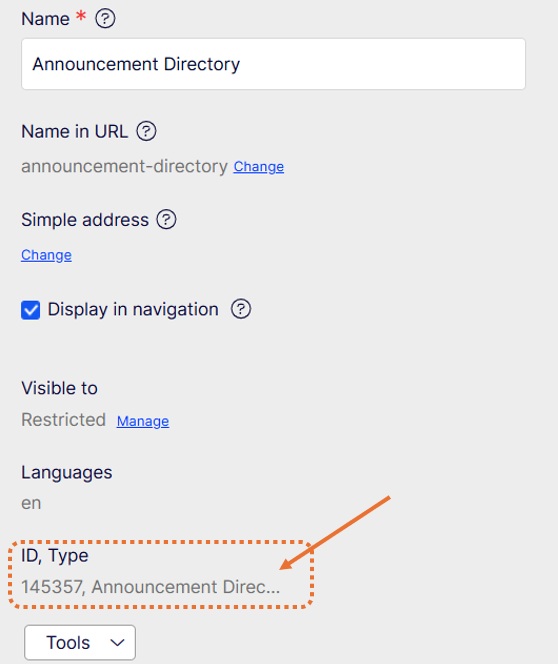

announcement directory page type in all properties view


Creating a New Announcement as a School General Detail Page

  1. Make sure you are in your school's project in the lower left corner.Project-Toolbar.png
  2. Click on your Announcements page under your school in the navigation pane.
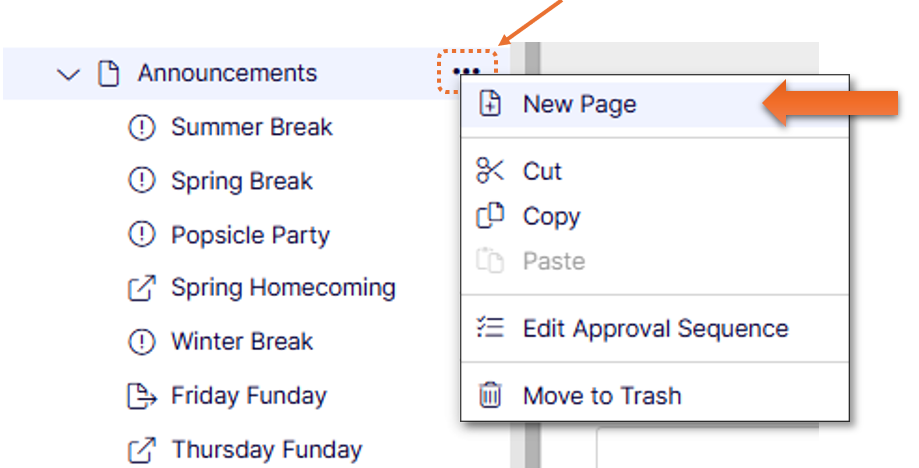
  3. From the context menu that appears to the right of the Announcements title, select "New Page"
    announcements-new-page.PNG
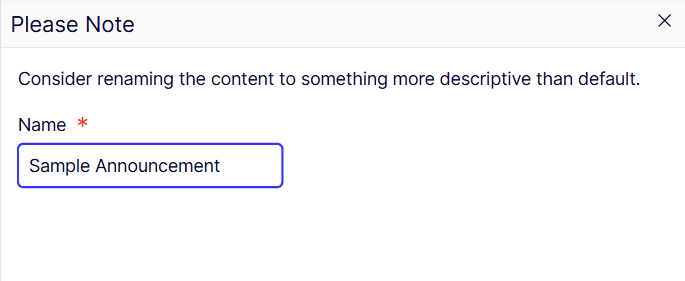
  4. Enter a name for the page. Try to keep the name short and avoid specific dates. Example: Back to School, not Back to School 2026. This will create a url that will not look out of date if you use the page again next year.
    sample-announcement-page-name
  5. Click OK.
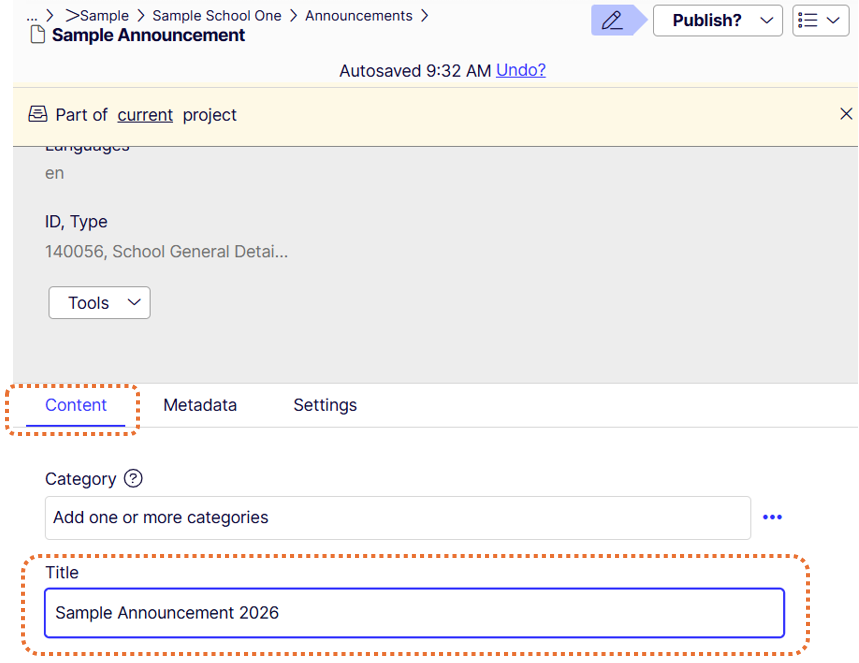
  6. If you want a longer title at the top of the page you can add that to the Title field on the page.

    sample-announcement-content-tab-title-field

  7. Now you have a page with a title, but you need some content.
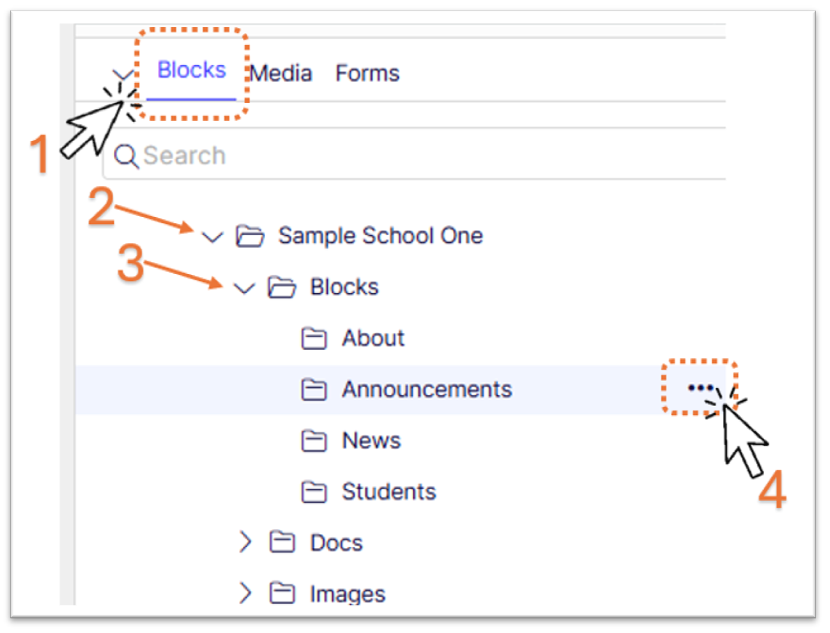
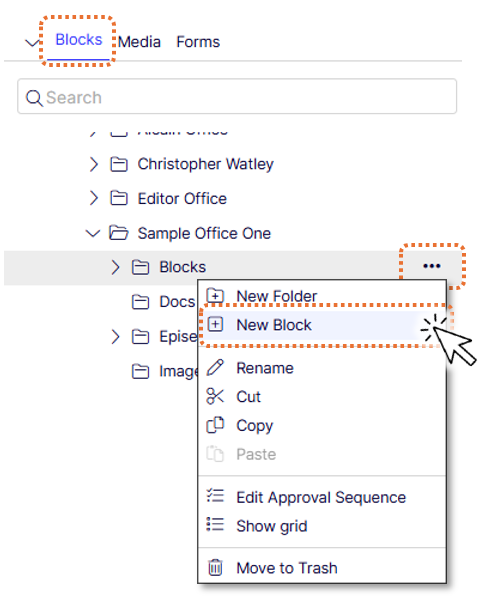
  8. In the Assets pane on the right select the Blocks tab, click on your school's blocks folder or expand it using the carrot. If you have a folder for announcements you should create your block there.
    announcements-open-blocks-folder.PNG
  9. Click on the option menu asset options icon.png
  10. Click New Block
    Create a block.png
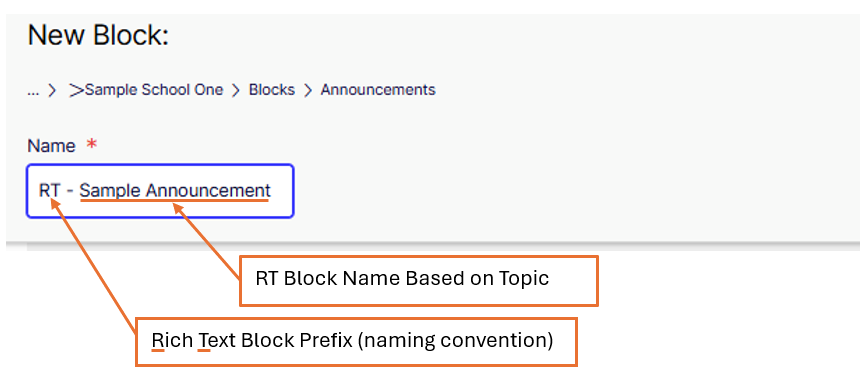
  11. Title it "RT - <<insert name of your announcement>>" (RT is the recommended prefix for a rich text block. Naming conventions make block types easier to identify in your blocks folder.
    announcements-name-block.PNG
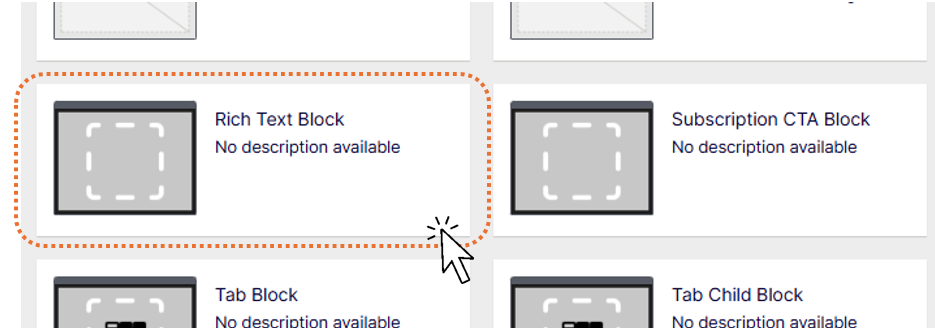
  12. Select Rich Text Block from the choices.
    announcements-select-rich-tect-block-type.PNG
  13. Click Create
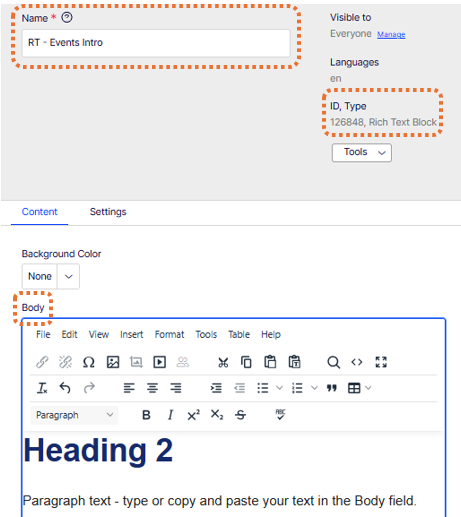
  14. Fill in the rich text block with the information about your announcement. You can use text, images, embedded videos, etc. - whatever you want people to see when they click on the new announcement page.

    Rich-Text-Properties.png
  15. Now you need to add your rich text block to the new page. Open up your new announcement page again from the left side navigation pane or from the recent gadget list by clicking it once.

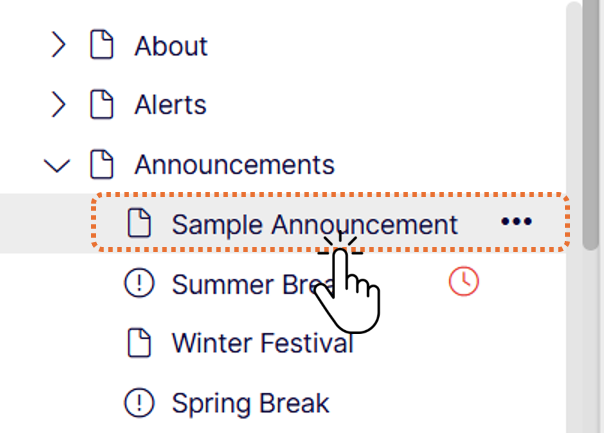
    Navigation Pane (left)
    sample announcement page in navigation pane

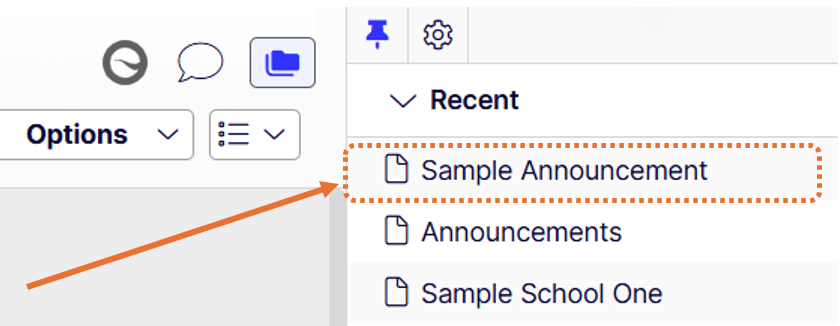
    Recent Gadget (right or left)
    sample announcement page in recent gadget
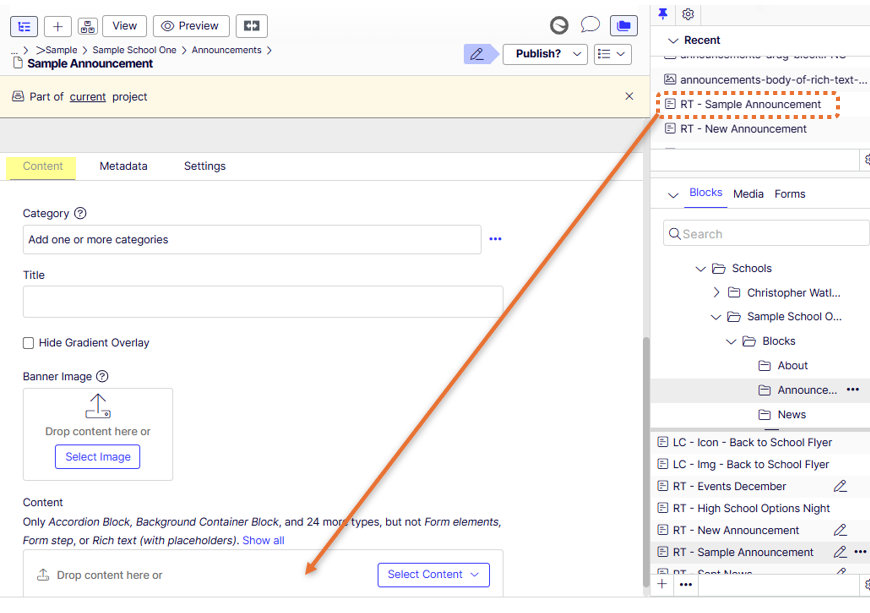
  16. Scroll down to see the content section and drag the rich text block onto the content section of the announcement page.
    announcements-drag-block.PNG
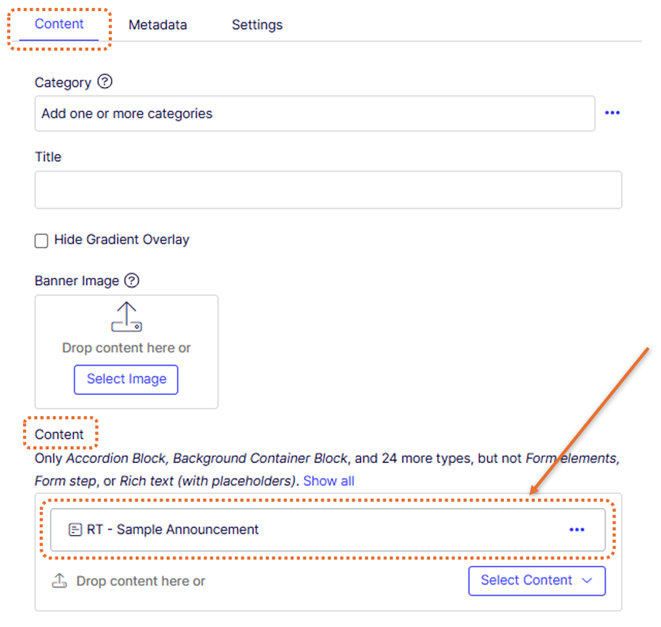
    You should see the RT block in the content area now.

    announcements-rt-block-in-content-area.PNG
  17. Click on the metadata tab on the page.
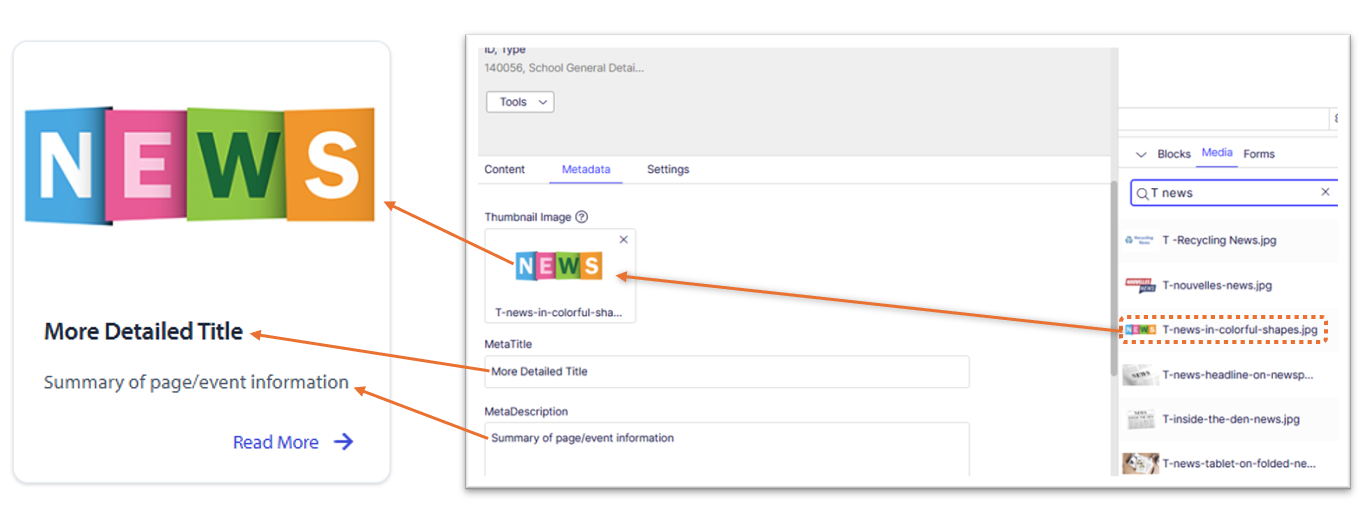
    • You can provide a more detailed title in the metatitle field if you didn't add it to the Title field in the content tab.
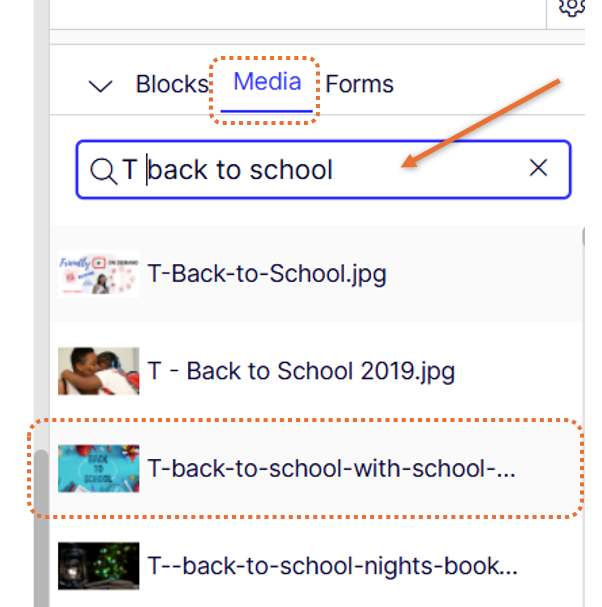
    • Either upload an image to use for your announcement or search in the assets pane Media tab for an appropriate image. You want a T - (thumbnail) or M- (mobile) image. If you upload your own image, make sure you publish it or it will not show on your page card.

      Sample image search under Media tab
      media-tab-search-for-thumbnail-image

    • Drag the image into the metadata image field.
    • Fill in the metadata description with a short phrase or sentence describing the event, etc. or calling for action (like Register early - spots are limited).

      Sample partial page view card and fields where image and text comes from
      announcements-fill-in-metadata.PNG
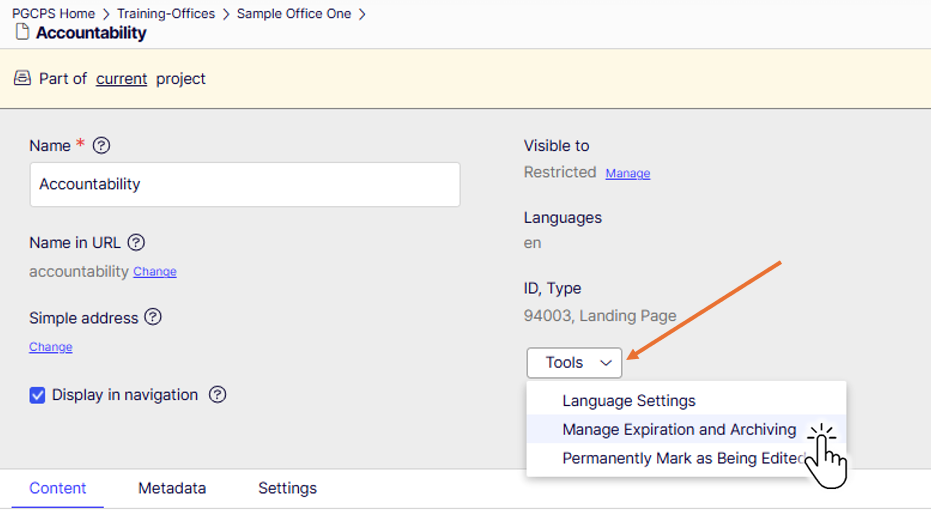
  18. Set your announcement to archive right after the event or at the end of the month. Click on the Tools drop-down in the top section of the Announcement page. Select Manage Expiration and Archiving.
    Expire-Header.png
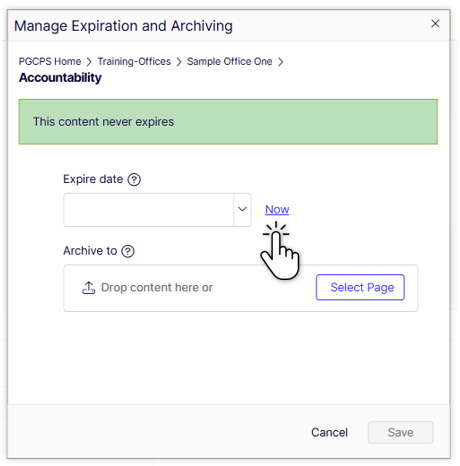
  19. Select a date and time to archive your announcement.
  20. Expire-Manage.png
  21. Click Save.

Add your announcement to the school's home page

  1. If you want to add your announcement to your school's home page, please follow the next steps. If you just want it to be on your announcements page, you can skip to the publish section.
  2. Open up your school's home page in the editor. Make sure you are in the Page Properties view. 
  3. Scroll down your home page to the Announcements section. 
  4. There should be no more than 3 items in that section at a time. If there are 3, you have to remove one to add your new one. 
  5. Click on the item to remove and select remove from the options menu. 
  6. Now you can drag your announcement from the navigation (pages) pane and into the Announcements section. Whatever order they are in is the way they will appear on the home page.

Publish All Items 

  1. Go to the overview of your project.
  2. Select all the pieces of your announcement using the CTRL or CMD plus mouse click, including the announcement itself, the rich text block, any images you added and your school's home page, if you added your announcement there.
  3. Select Ready to Publish from one of the titles of the items you selected. 
  4. Go to the Options menu at the top and select Publish (#) of items. 
  5. Once you publish, the announcement should be on your live, public home page and on the announcements page.

How to create an announcement linked to a flyer or PDF

How to create an announcement linked to an external website, google doc or form